I found out that using the new version of 3ds max made it harder to find the icons that was being shown in the videos as the versions were different. the guy on the video didn't tell you what happened if something didn't work so we then either had to find it out for our self's of ask the lecture.
some of the things shown in the videos did not work, for example the last stage of the 12th video did not work in photoshop in creating the tile texture. and i could not find a way around this to make it work.
creating the lips didn't go to well for me as the image of my lips was not a good image to work from
doing the uvw unwrap didn't work for me for the first few times that i did it, and couldn't find out what i was doing wrong so i wasted alot of time doing that.
when doing the map for the ear i think now it would of been better in selecting just the ear and not back of the ear, this is because you are left with a joining line.
I think if i re-did my face again i would be able to get it done alot quicker and better.
Virtual Environments
Thursday, 21 October 2010
what went well
using the image i found it easier drawing on the polygons first so i had a guide line to follow, doing this made it better for me to create the face of my face. By having the videos i could work at my own pace and teach my self new techniques.
I was pleased with my final model i think it looks a bit like me, well the shape of the face is the same.
using the hair tool was fun and easy to use, creating the skin texture went rather well, mapping the face out in photoshop took allot of time but was worth it in the end.
the ear texture and style went well and was probably the part i was most pleased with.
eye
morpher
hair
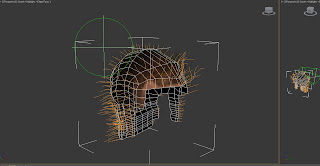
creating the hair i slected the polygones that had hair on it i then copyed it creating a roman helmet. i then clicked on the modifier tap and slected hair and fur then using the cutting tools to cut the hair. and then i changed the colour of the hair to the same colour in the image. i then tryed to make the hair curly but couldnt find a way to do this.

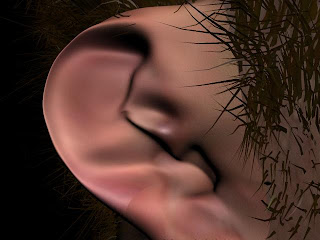
stage 12
stage 11

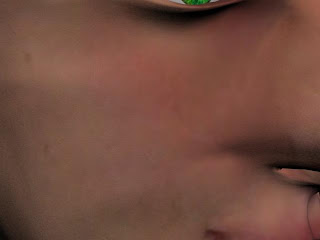
creating the skin texture, i used the image in of the map that i had created. i then click on desaturate, i then choose the levels by clicking on levles changing the scale. i then used the stamp tool to take out any hard edges i saved this file as bump.

i then imported the image over to 3ds max on the materal of the face i clicked on maps then bump and added the bump file i created.
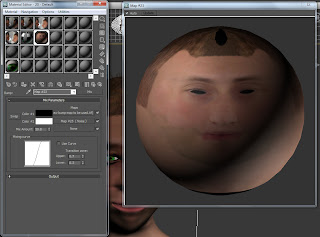
i then mixted it with a nois modifire setting the settings to fine to get a good skin texture.

Subscribe to:
Comments (Atom)


